Django is a framework anyone who's worked with Python has definitely heard of — it's one of the most widely used frameworks among developers these past few years. In this post I'll walk you through creating a project using the Django framework and deploying this application onto the BizflyCloud App Engine Serverless platform!
Prerequisites
- Your machine needs Python installed (python.org)
- You'll also need the Django framework installed (djangoproject.com)
- And a BizflyCloud account to deploy the application! Sign up here
Let's get started
Creating a simple project
To start a Django project, we use the following command to create a sample project with the most basic files:
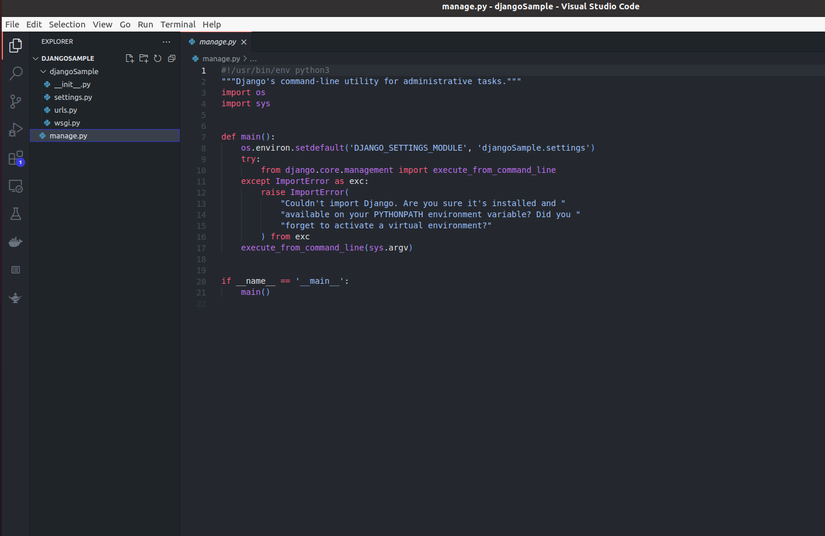
django-admin startproject djangoSampleAfter running the command above, we'll have a project named djangoSample with the following files and structure:
Let's try running the Django project with the command:
python manage.py runserver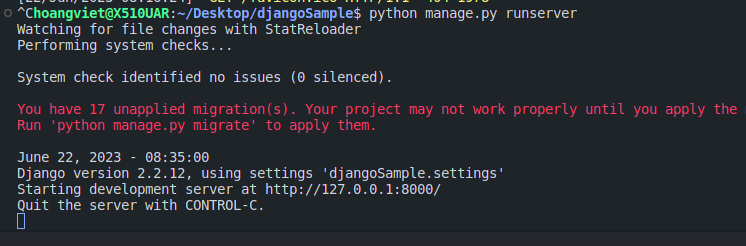
Once the command runs, you can access the application via a browser at 127.0.0.1:8000
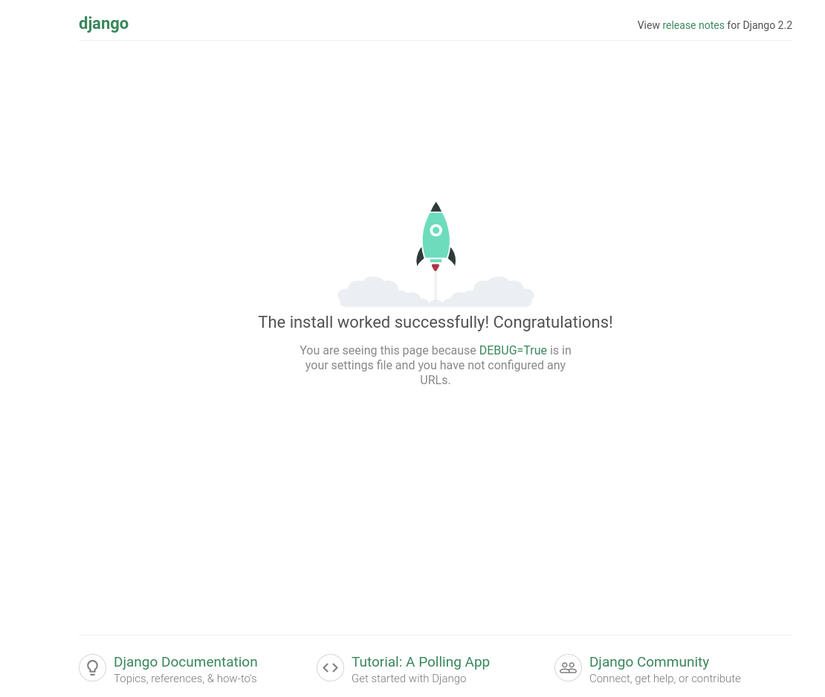
So you've successfully run a simple Django project. Next, let's try deploying this project to the internet with the BizflyCloud App Engine platform.
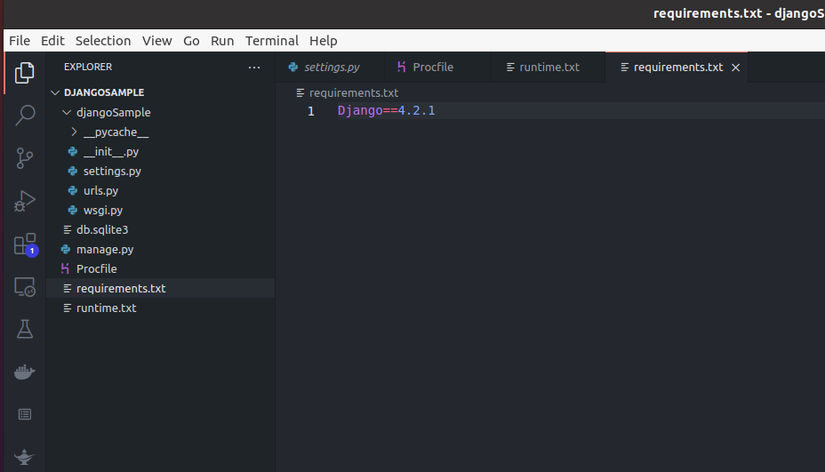
Creating a requirements.txt file
This file defines the packages your project will use, to be installed when you deploy to the serverless platform. Let's create a requirements.txt file with this content:
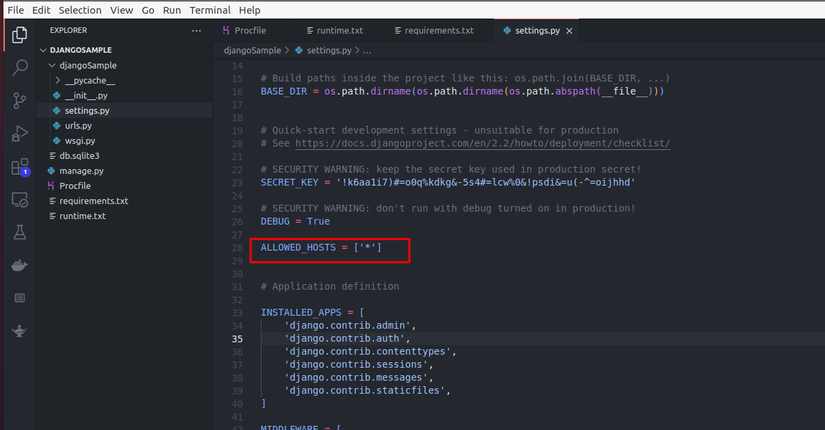
Allow Host in settings.py
Allow Host is a config in the settings.py file that determines which domains can access the application. Here we'll allow all domains by configuring ALLOWED_HOSTS = [*]
Defining the run command
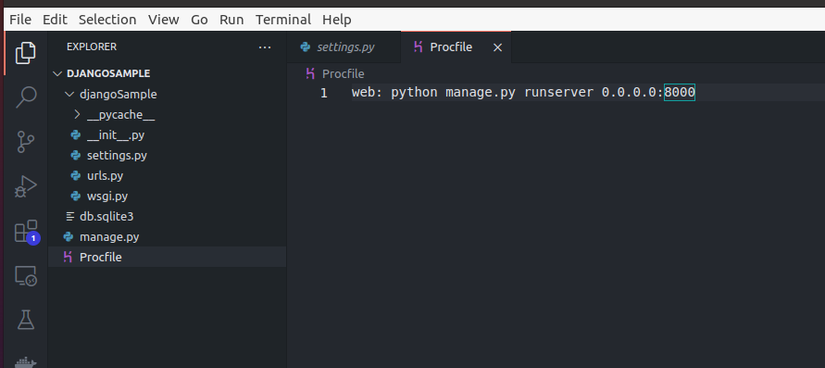
For Python, you need to define a run command used to start the application. Similar to the python manage.py runserver command we used above — but running with that command runs in a dev environment with host 127.0.0.1, only accessible locally. When you want to expose it to the internet and access it from different machines, the Host needs to be 0.0.0.0. The Run Command I'll use is as follows:
python manage.py runserver 0.0.0.0:8000The command above runs your application on host 0.0.0.0 (allowing access from any address) on port 8000
The BizflyCloud system receives the Run Command via a Procfile, so we'll create a file named Procfile with the following content:
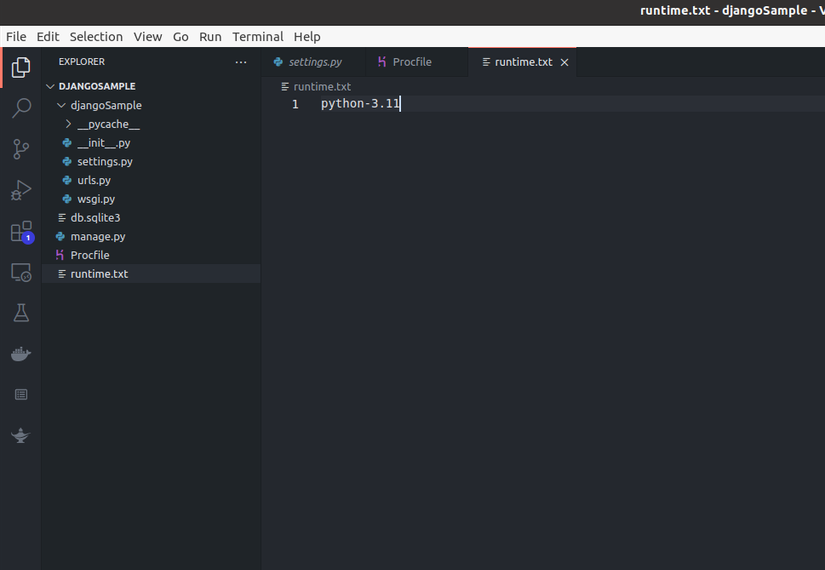
Defining the Python Version (Optional)
If you don't define a Python version, the BizflyCloud App Engine system will use the latest supported Python version. To define a Python version, create a runtime.txt file with the Python version to use as its content:
Deploying the application
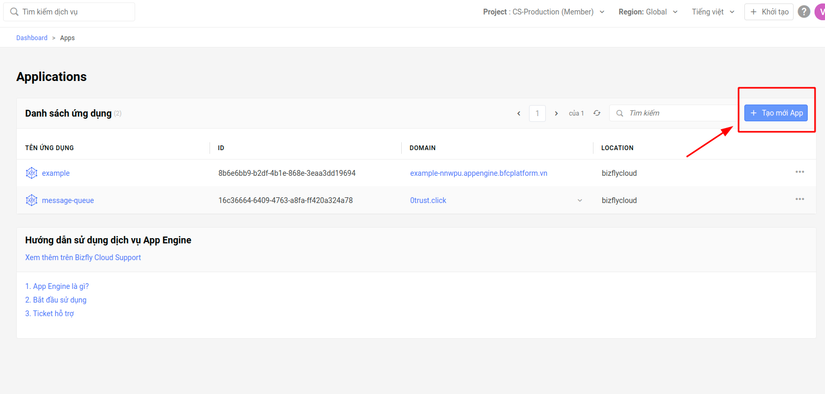
So you've completed the steps needed to deploy the application. Log into BizflyCloud and create an Application named Django-project.
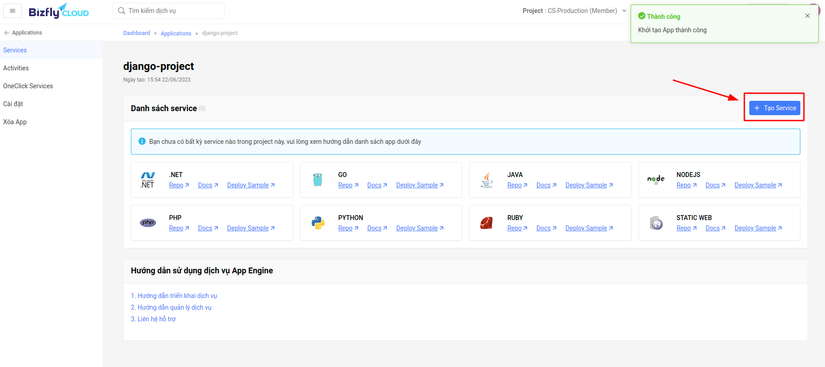
Next, we'll create a Service, the component that runs the application
I'll fill in the service config as shown below
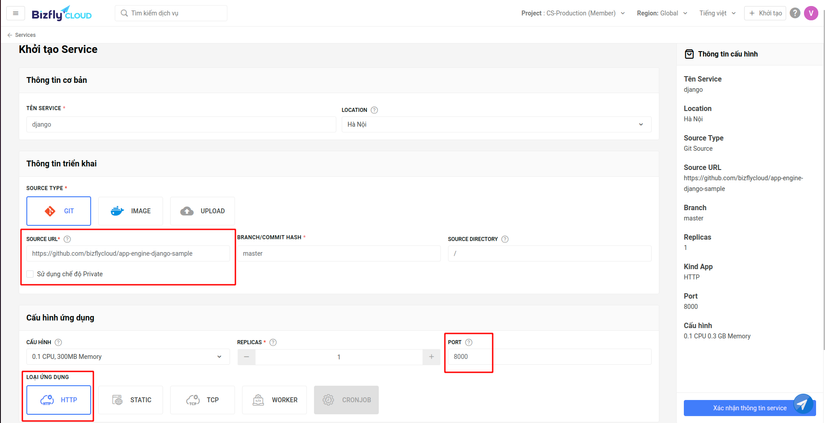
If you don't use Git, you can use the upload Source type to pick a code folder directly from your machine. Here I'll use a Git source, which is more convenient for updates and CI/CD integration.
If you want to use the same django source I'm deploying, here it is: github.com/bizflycloud/app-engine-django-sample
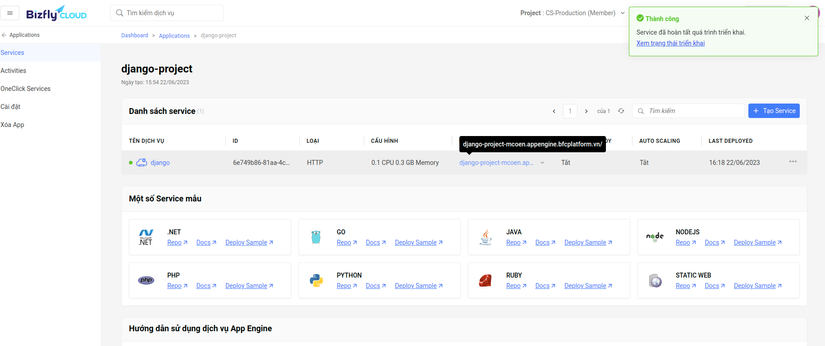
Once I confirm the config, I hit Confirm Info to deploy. The deploy process takes about 1-3 minutes to finish.
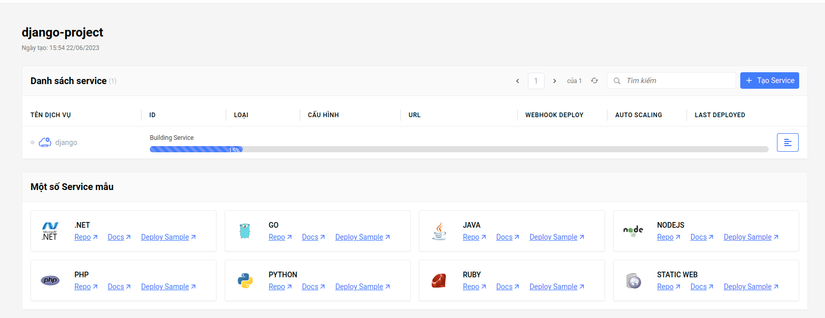
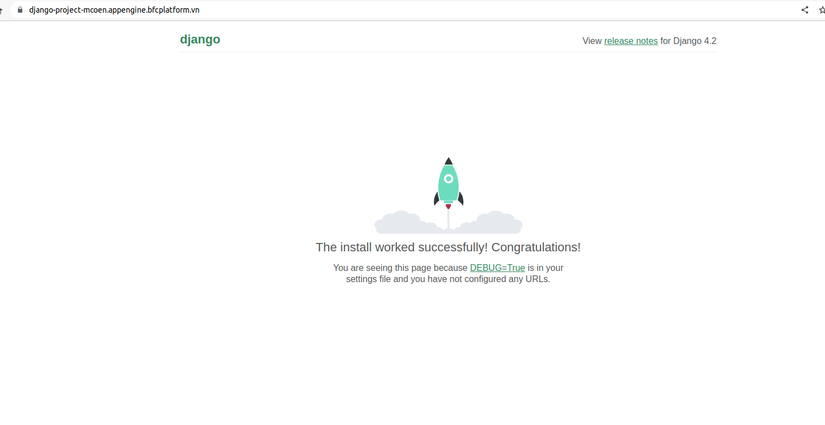
Once the deploy process finishes, the system returns a link to access the Django Project (django-project-mcoen.appengine.bfcplatform.vn):
Wrapping up
So I've walked you through deploying a basic Django project onto the BizflyCloud App Engine serverless system!!! This platform is currently free, letting you deploy applications in a wide variety of languages without spending a dime 😄 Go try it out quickly!
Thanks for reading this far! Upvote and Follow me to see more posts about other frameworks! ❤️