What is Argo Rollout?
Another Argo project you've probably heard a lot about is ArgoCD, which plays the Continuous Delivery role in a CI/CD process.
Argo Rollout operates as a Kubernetes Controller — it has CRDs like Rollout, Experiment, Analysisruns, Analysistemplates, etc., to provide advanced deployment strategies for applications running in a K8s environment, like Blue-Green, Canary, etc.
By default, when configuring a Deployment in K8s, we can configure the .spec.strategy.type field with 2 values: RollingUpdate or Recreate, corresponding to 2 deployment styles.
Learn about the RollingUpdate and Recreate deployment strategies here.
However, the 2 strategies provided natively by K8s still have shortcomings and aren't quite enough for real-world environments. That's why Argo Rollout was created, giving you a tool that makes it easy to update your application with the Blue-Green and Canary strategies.
Installation
CLI
To interact with the CRD created by Argo Rollout you can use the UI interface or the CLI. To install the CLI for Linux, run the following commands:
curl -LO https://github.com/argoproj/argo-rollouts/releases/latest/download/kubectl-argo-rollouts-linux-amd64chmod +x ./kubectl-argo-rollouts-linux-amd64sudo mv ./kubectl-argo-rollouts-linux-amd64 /usr/local/bin/kubectl-argo-rolloutsRun the following command to check whether the install succeeded:
kubectl argo rollouts versionArgo Rollout Controller
The Argo Rollout Controller is a component that runs on the K8s cluster to watch the CRDs and orchestrate the deployment strategies you'll perform. To install it, run the following command:
kubectl create namespace argo-rollouts
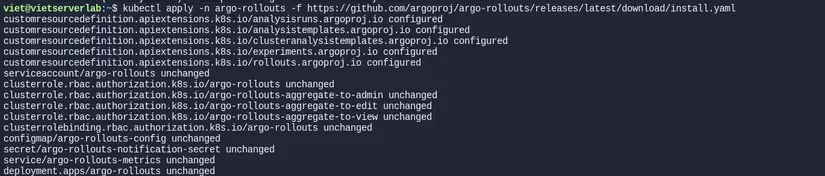
kubectl apply -n argo-rollouts -f https://github.com/argoproj/argo-rollouts/releases/latest/download/install.yaml
These 2 commands will create the argo-rollouts namespace and the related resources. Once it's done running, you'll see a deployment in the argo-rollouts namespace
Deploying an application with the Canary strategy
So we've finished installing Argo Rollout on the K8s cluster along with the CLI tool to interact with it — now we have everything we need to try deploying an application with the Canary strategy. But first, before practicing this strategy, we need to understand how it works — if you already know this strategy, feel free to skip the next section.
What is the Canary deployment strategy?
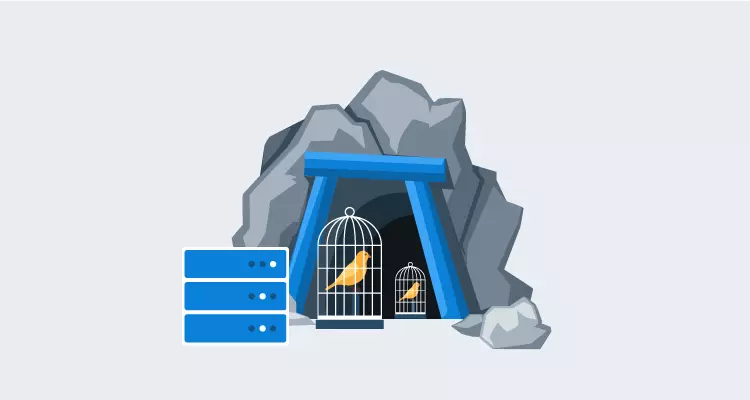
The name "Canary" in "Canary deployment" is inspired by how miners used canary birds to warn them about the presence of poisonous gas in a mine. The core idea of the Canary deployment strategy is to develop and deploy a new version of the application at a small, safe scale, and test it before rolling it out to end users.
In a Canary deployment, the new version of the application gets deployed alongside the existing version. However, only a small portion of users (like a small group or a certain percentage) gets redirected to use the new version, while the rest keep using the existing version.
Through monitoring, a system admin can gather info about the new version's performance and stability. If the Canary version has no issues and hits the expected performance metrics, you can proceed to redirect all users to the new version. Conversely, if there's an issue, the admin can halt the rollout or redirect back to the existing version to avoid affecting users.
Canary deployment strategies make sure a change in the application gets tested and verified before being rolled out broadly. This minimizes risk to end users, while providing the ability to react quickly and manage a situation when an incident happens.
Deploying an application with the Canary strategy
Argo Rollout gives us a CRD named Rollout that replaces Deployment. With Rollout we can integrate new deployment strategies instead of just RollingUpdate and Recreate like Deployment.
Let's create a Rollout resource with the following config:
apiVersion: argoproj.io/v1alpha1
kind: Rollout
metadata:
  name: rollouts-canary
spec:
  replicas: 5
  strategy:
    canary:
      steps:
      - setWeight: 20
      - pause: {}
      - setWeight: 40
      - pause: {duration: 10}
      - setWeight: 60
      - pause: {duration: 10}
      - setWeight: 80
      - pause: {duration: 10}
  revisionHistoryLimit: 5
  selector:
    matchLabels:
      app: rollouts-canary
  template:
    metadata:
      labels:
        app: rollouts-canary
    spec:
      containers:
      - name: rollouts-canary
        image: nghoangviet/python-api:staging
        ports:
        - name: http
          containerPort: 5000
          protocol: TCP
You'll notice the Rollout config is fairly similar to Deployment, differing only in the .spec.strategy section. The .spec.strategy.steps section declares how the Canary deployment process will play out. With the example above, the steps happen as follows:
- setWeight: 20 => Once the deployment starts, pods with the new image get created and receive 20% of requests, meaning 20% of users get shifted to the new version.
- pause: {} => The deployment gets paused indefinitely to assess impact. This step requires manual confirmation to move to the next step.
- setWeight: 40 => The percentage of requests shifted to the new version increases to 40%
- pause: {duration: 10} => Pauses the process for 10 seconds. If you want to change it to 10 minutes, declare
duration: 10m, similarly 10h, 10d, etc. - setWeight: 60 => The percentage of requests shifted to the new version increases to 60%
- pause: {duration: 10} => Pauses the process for 10 seconds.
- setWeight: 80 => The percentage of requests shifted to the new version increases to 80%
- pause: {duration: 10} => Pauses the process for 10 seconds.
- Finally, all traffic gets shifted to the new version.
Next, let's create a Service with type NodePort so the service can be accessed from outside the cluster.
apiVersion: v1
kind: Service
metadata:
  name: rollouts-demo
spec:
  type: NodePort
  ports:
  - port: 80
    targetPort: 5000
    protocol: TCP
    name: http
  selector:
    app: rollouts-canary
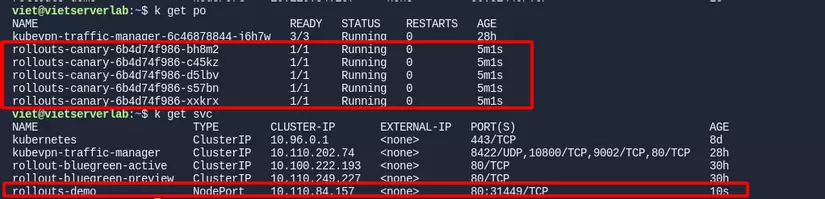
Once created, if we get the pod and service we'll see it looks like the image — accessing via the Node IP on port 31449 we'll get the message "Login Required - Staging Env"
Next we'll update this application's version. In this post I'll walk through both the CLI and UI — to launch the UI we run the following command
kubectl argo rollouts dashboardGo to localhost on port 3100, then go to the Rollout named rollout-canary, and you'll see an interface like below:
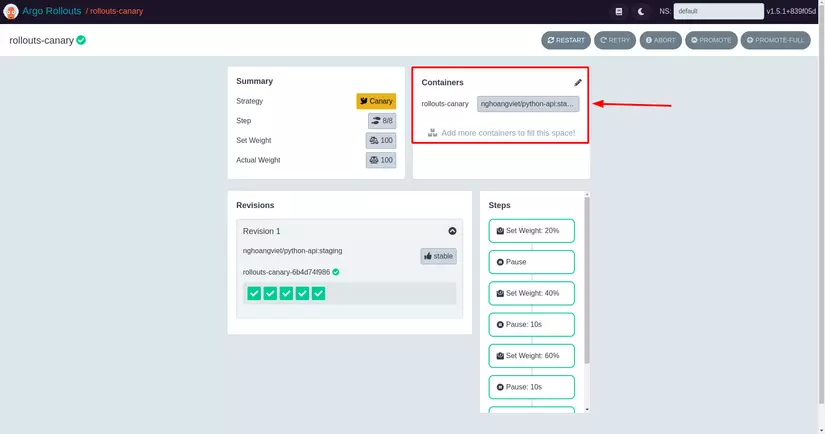
To update to the new version, change the info in the highlighted section to: nghoangviet/python-api:production Or use the CLI with the following command to update the rollout's image:
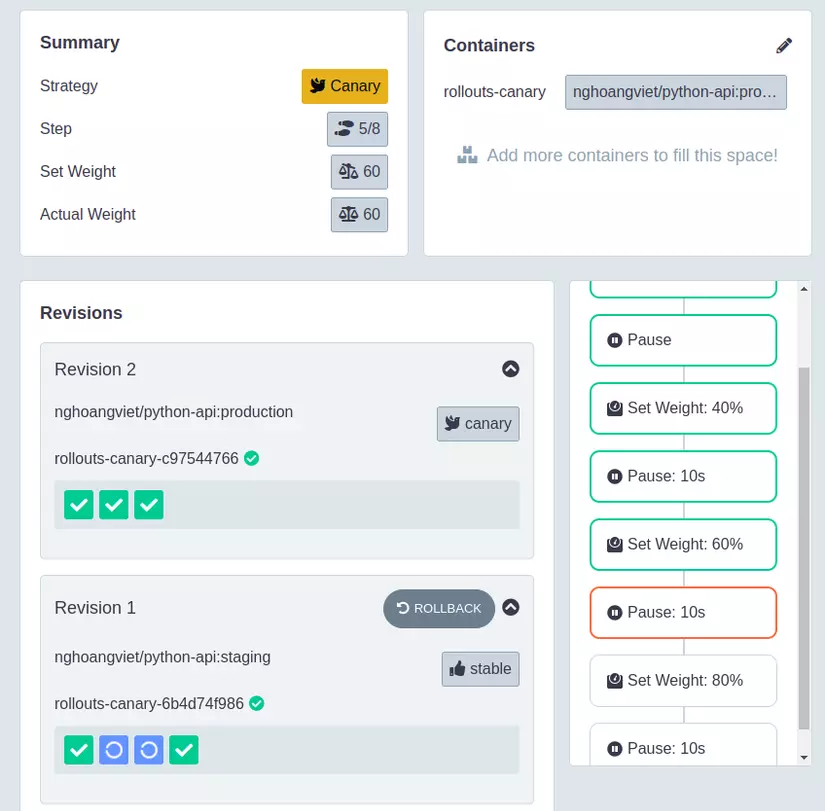
kubectl argo rollouts set image rollouts-canary rollouts-canary=nghoangviet/python-api:productionAfter changing the image, we see 1 new pod get created to handle 20% of requests, while 1 pod from the old version gets deleted. The update process gets paused indefinitely as planned.
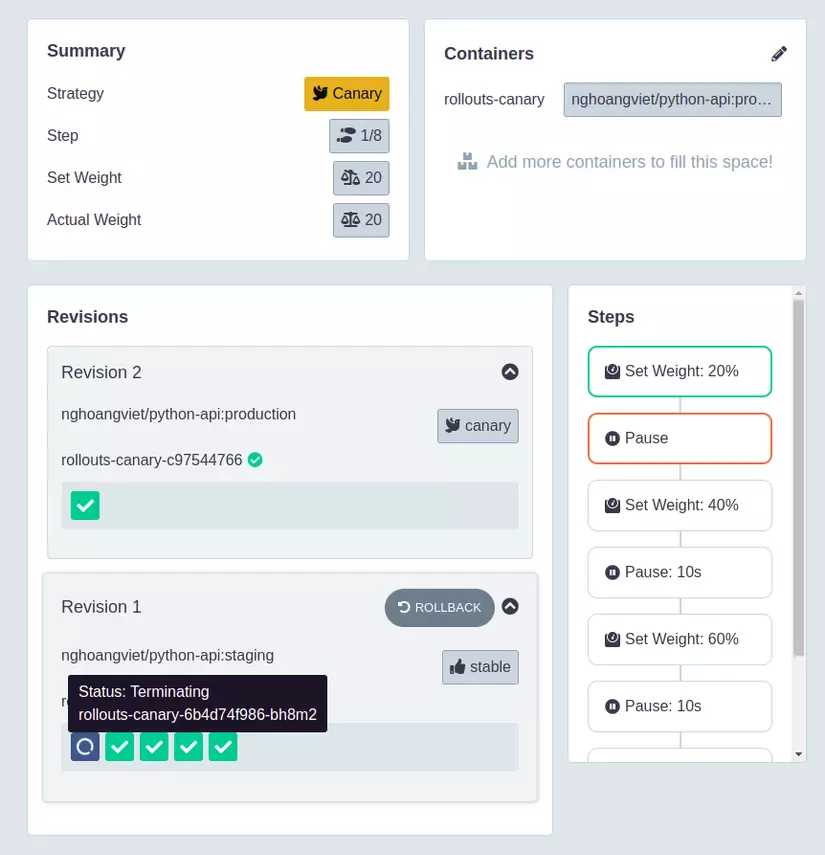
Next, let's run a simple command to see whether 20% of requests are actually going through the new version. Here I'll use bash curl every 0.5s against the application
while true; do curl 192.168.49.2:31449; echo ''; sleep 0.5; done192.168.49.2:31449 is the address I use to access the application via NodePort — change it to match your own case.
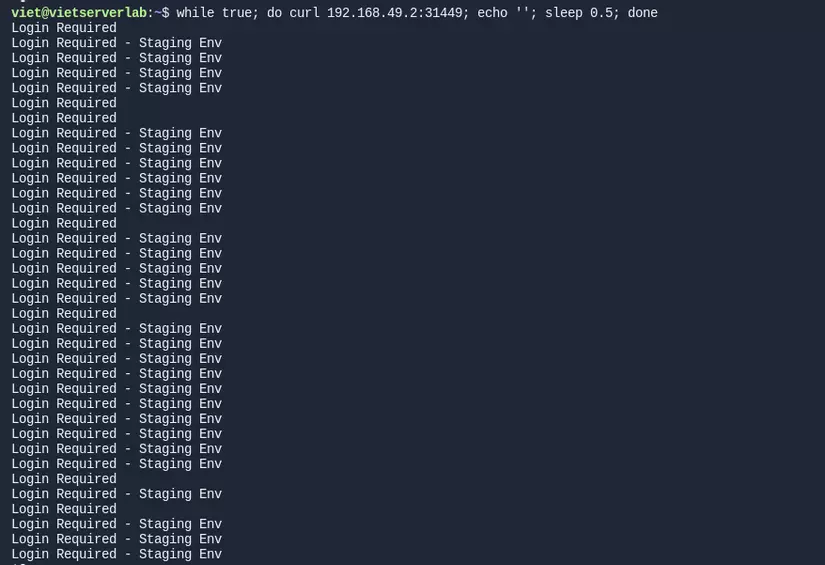
After running it, we see a small number of requests come back with the new message "Login Required", corresponding to the new version successfully handling traffic.
In practice, once you've reviewed and confirmed the requests going through the new version have no issues, you continue the deployment process. To continue, you can use the Promote button on the UI
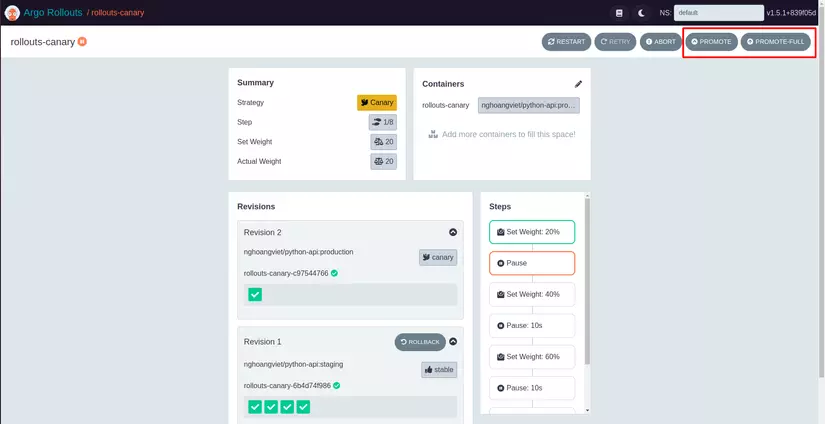
Or use the command
kubectl argo rollouts promote rollouts-canaryThe remaining steps will get carried out one by one, and eventually only pods of the new version will remain. So we've finished deploying the application using the canary strategy.
Wrapping up
Hope this post gave you some new knowledge. If you found this post good, Follow and Upvote me to catch the post on deploying an application with the Blue-Green strategy using ArgoRollout. Thanks for reading this far!
If you're running into technical challenges or need help with systems, DevOps tools, I'm confident I can help. Get in touch at hoangviet.io.vn